Stencils can be created in many different ways. Some artists use expensive machines. These machines can cost upwards of $400. Others rely on simple tools that don’t break the bank. This post will show you how to create budget-friendly stencils using affordable materials. Best of all, these handmade stencils will be reusable for future projects.
We’ll start by listing the essential tools needed for stencil creation. Then, we’ll guide you through a simple three-step process to make your own stencil. Let’s dive in!
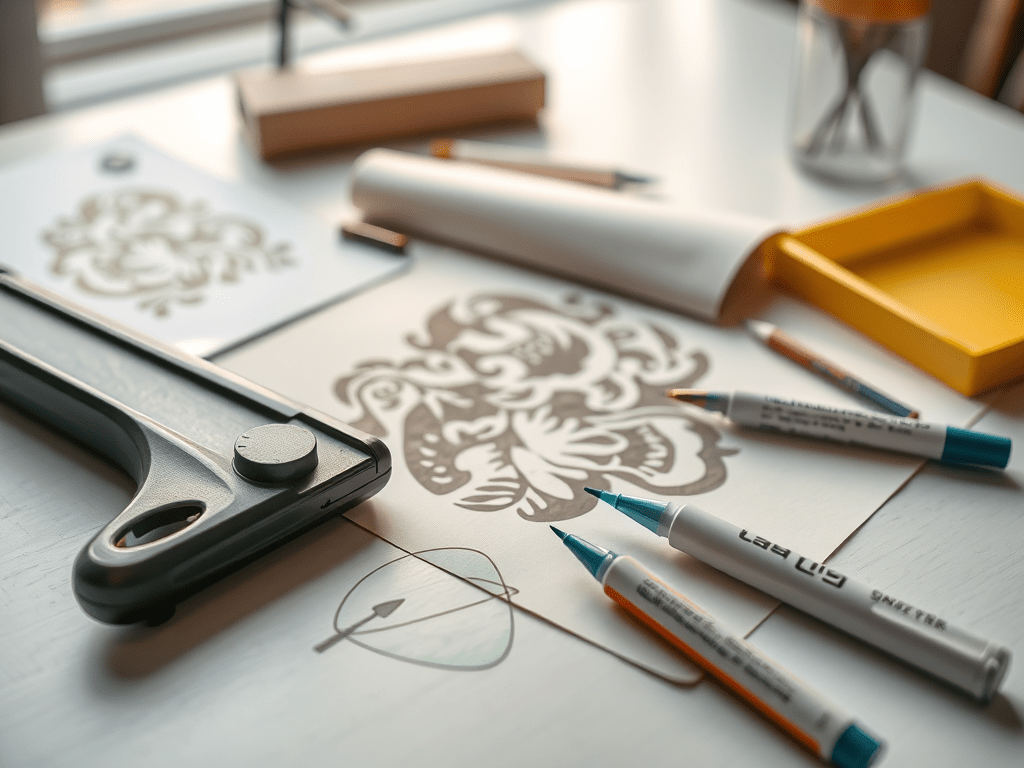
Tools Needed
1. Stencil Cutter – Heats up to easily cut through stencil material.
See Our Pick
2. X-Acto Blades – Works alongside the stencil cutter for smooth, precise cuts. See Our Pick
3. Clear Color Divider – A durable, see-through material that lets you easily follow your artwork while cutting. It’s also reusable and easy to clean.
See Our Pick
4. Micro Marker Pen – Comes with different tip sizes for outlining and tracing artwork before cutting. See Our Pick
5. Light Box – Helps illuminate the artwork for better visibility when tracing and cutting. See Our Pick
6. 11×14 Glass Sheet – Protects the artwork and provides a stable surface while cutting. The sharp knife and heat can damage artwork if unprotected. See Our Pick
7. Tape – Holds the artwork in place for precise cutting. See Our Pick
8. Small Clamps – Secures the glass in place since tape alone may not be strong enough. See Our Pick
9. Artwork – The design you’ll be cutting into a stencil. Make sure to use original artwork to avoid copyright infringement. See Our Pick
Step-by-Step Guide to Making a Stencil
Step 1: Prepare Your Artwork.
Before making a stencil, you need a design. Whether you draw your own or create one digitally, make sure it’s original to avoid copyright issues.
Step 2: Outline Your Design
Use the fine liner pen to carefully trace the detailed areas of your artwork. These outlines will guide your cutting process.
Tape the corners of the glass sheet to prevent accidental cuts.
Heat up the stencil cutter so it’s ready to use.
Step 3: Cutting the Stencil
Tape your artwork to the light box to improve visibility, then choose one of these two cutting techniques:
1. Trace and Cut Method
Place the plastic divider over the artwork and trace it before cutting.
2. Direct Cut Method
Secure the glass over the artwork with clamps. Then, tape the plastic divider on top. Finally, cut directly along the lines.
Final Thoughts
Creating your own stencils on a budget is a great way to save money while maintaining creative freedom. With just a few affordable tools and a bit of patience, you can craft high-quality, reusable stencils for future projects. Whether you’re customizing clothing, painting murals, or decorating crafts, homemade stencils offer endless possibilities.
Now that you know how to make budget-friendly stencils, it’s time to put your creativity to work. Happy crafting!
As an Amazon Associate, I earn commission from qualifying purchases!

Proudly powered by WordPress

Leave a comment